Main Quest
Love and War
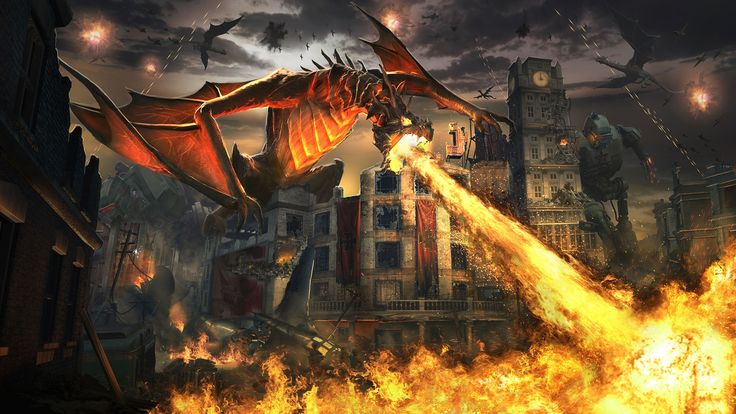
Gorod Krovi
14 steps
Sign in to track completion
Guides
Main Quest
Gorod Krovi
Guides
Relics Hunting