Main Quest
My Brother's Keeper
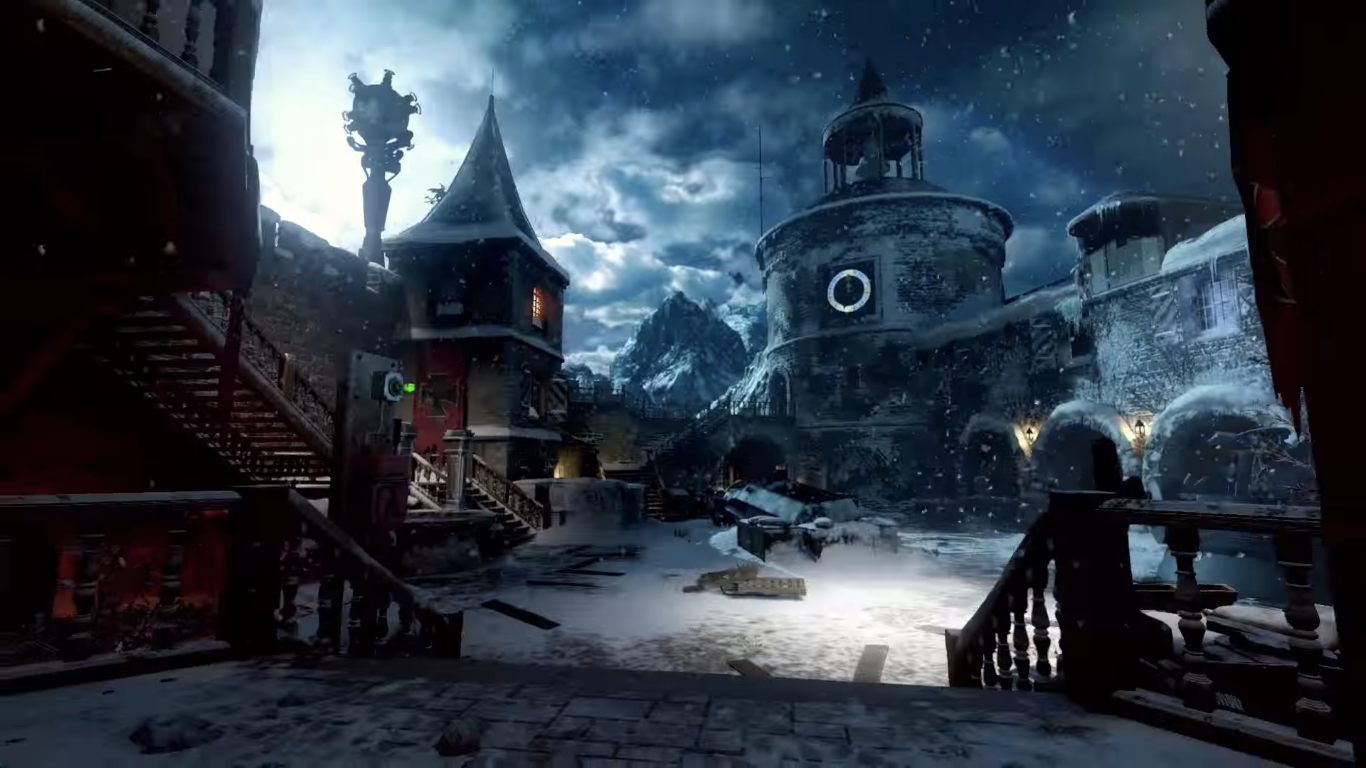
Der Eisendrache
17 steps
Sign in to track completion
Guides
Main Quest
Der Eisendrache
Guides
Relics Hunting